02
ELECTRONICS PRODUCTION
This week we worked on electronics production by milling copper to make PCBs.
no bits were harmed in the making of this PCB
| Tools: | Brian's website, PCB milling machine |
| Date: | 09.26.2018 |
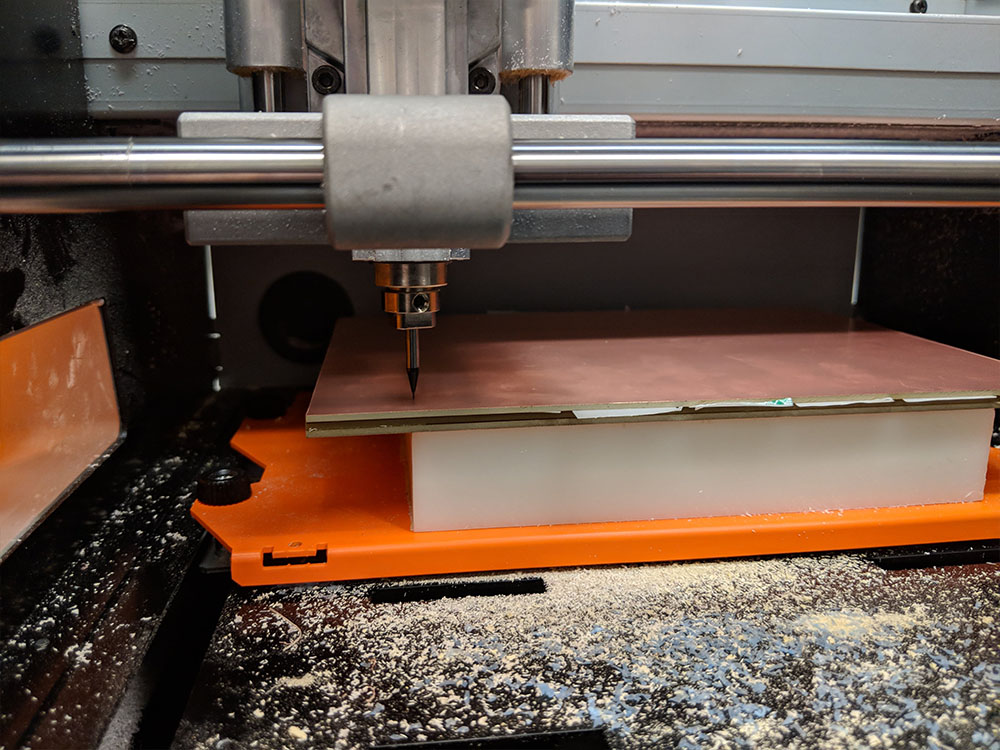
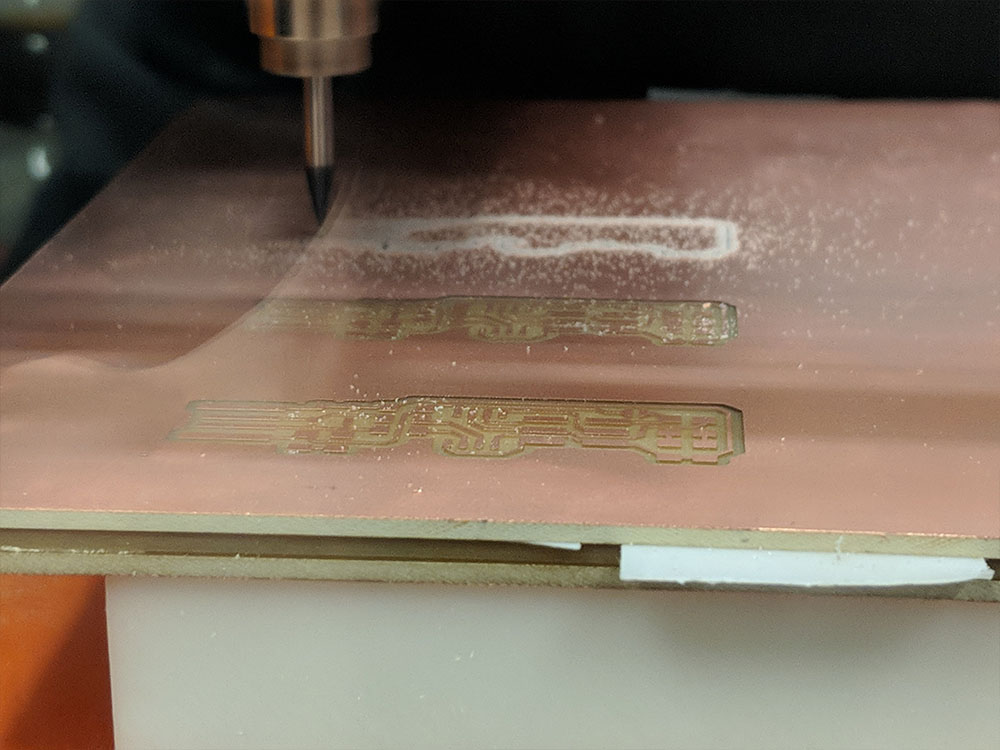
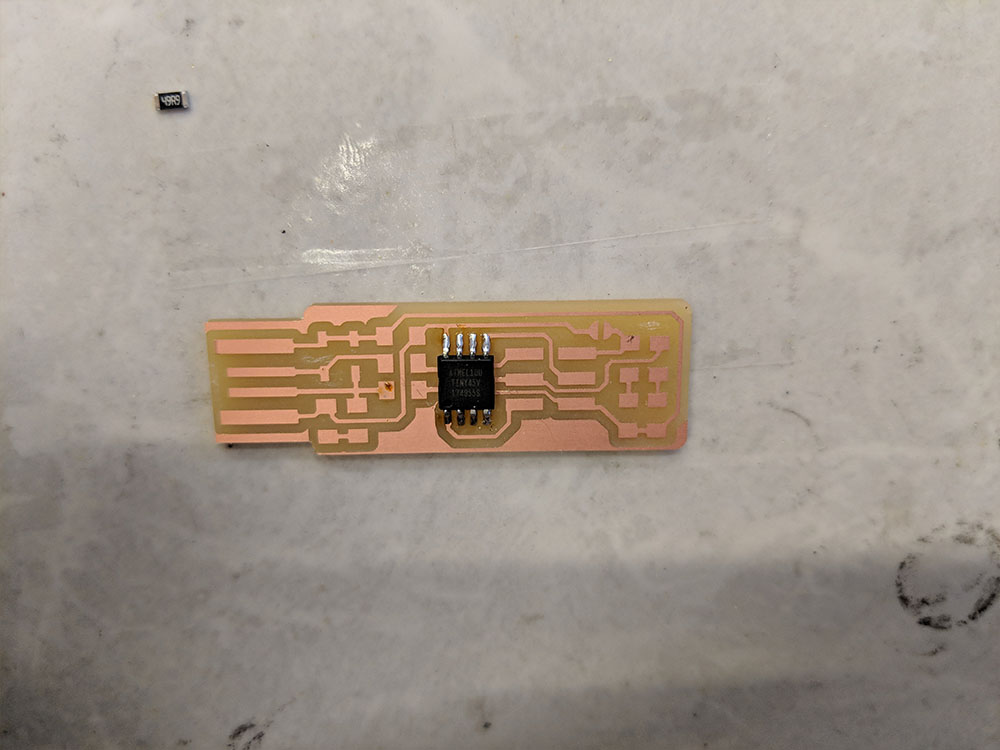
Milling Process
I started with the PNG image that I got from Brian's site and uploaded it to the Roland milling machine. I used a 1/64 bit for tracing, and a 1/32 for cutting the outline. I had no issues with the millin process and everything turned out as expected. Thankfully, no bits were broken in the making of this PCB!
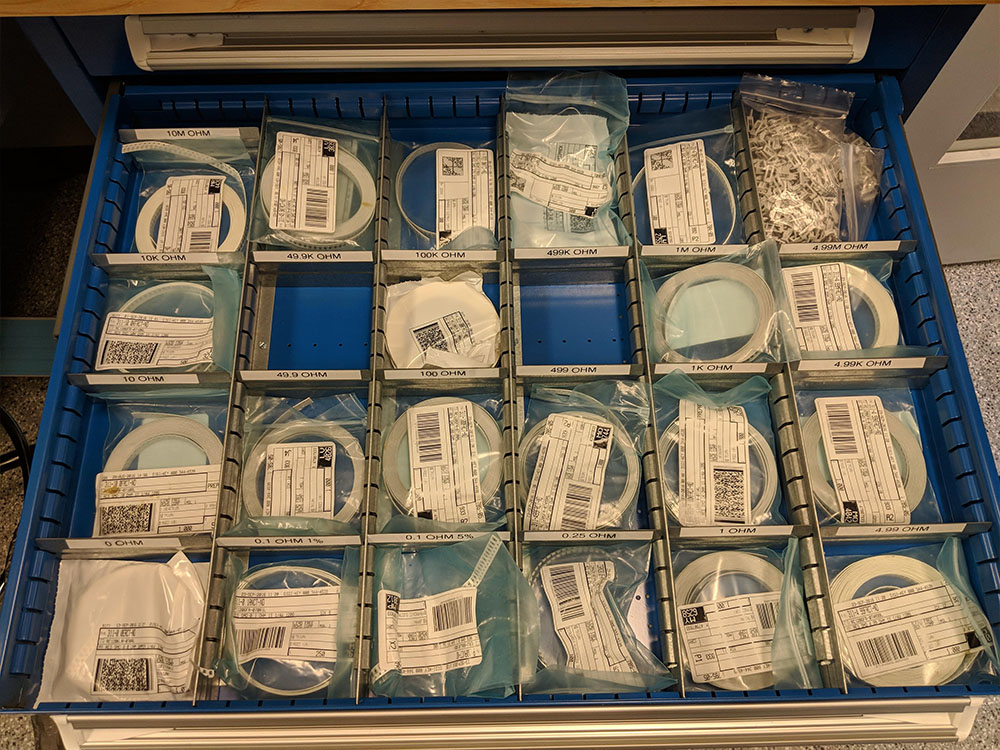
Soldering Process
Once the board was done, it was time to collect all the parts. With the advice of my TAs, I used double sided tabe to keep track of all the parts I needed for assembly (great advice!).
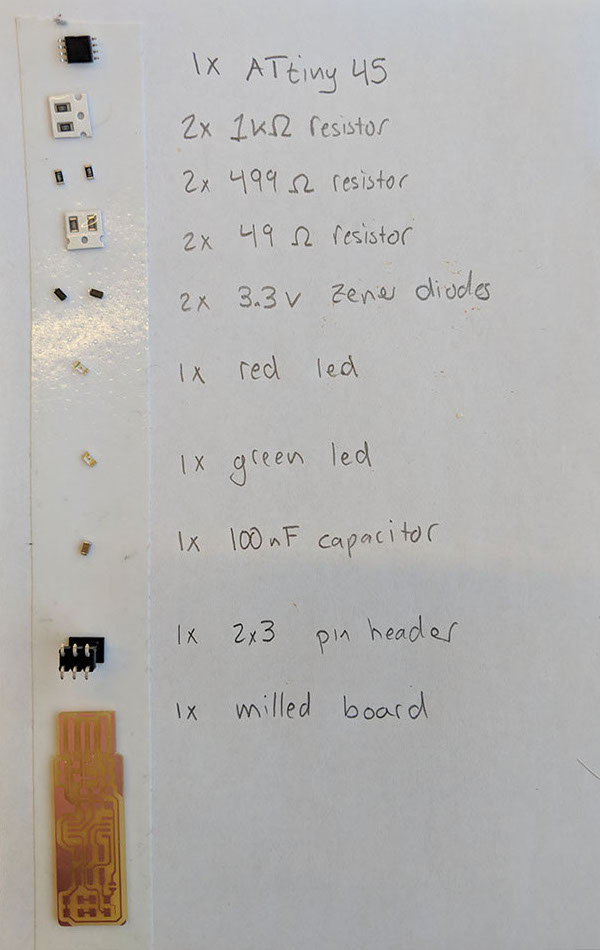
With all the parts picked out and the board ready to go, it was time to start soldering! I started with the ATtiny first because it was the most difficult with all of its joints so I wanted to get at it when I had the most room. From there, I worked my way out from the center until everything was all done.
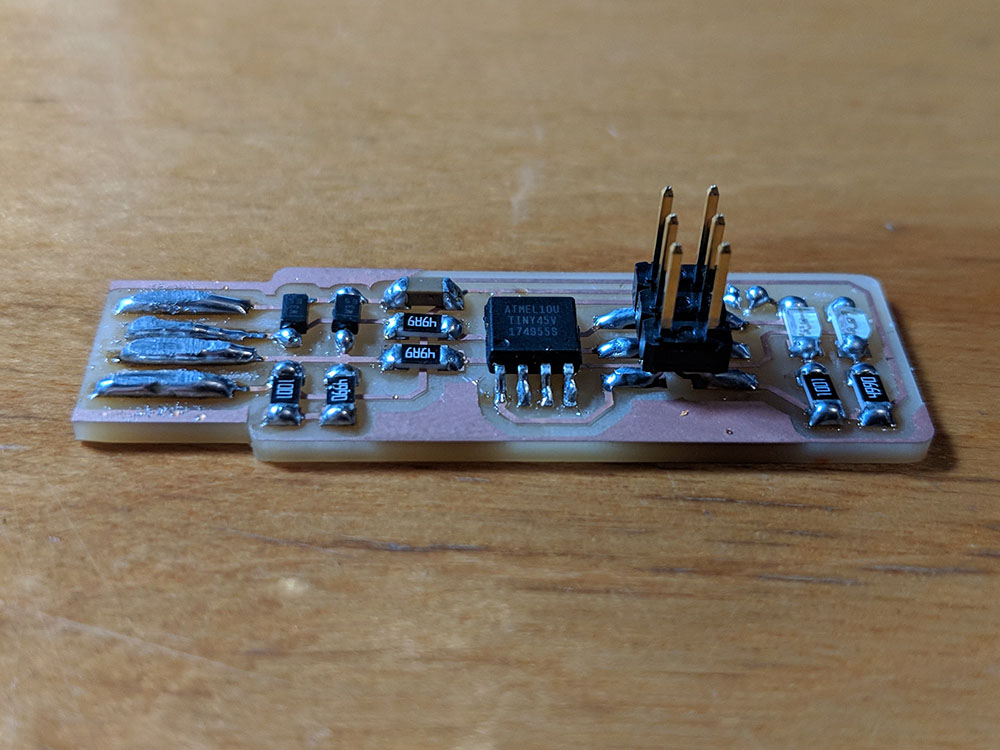
Once everything was assembled, I programmed my (soon-to-be) programmer and everything worked as intended.
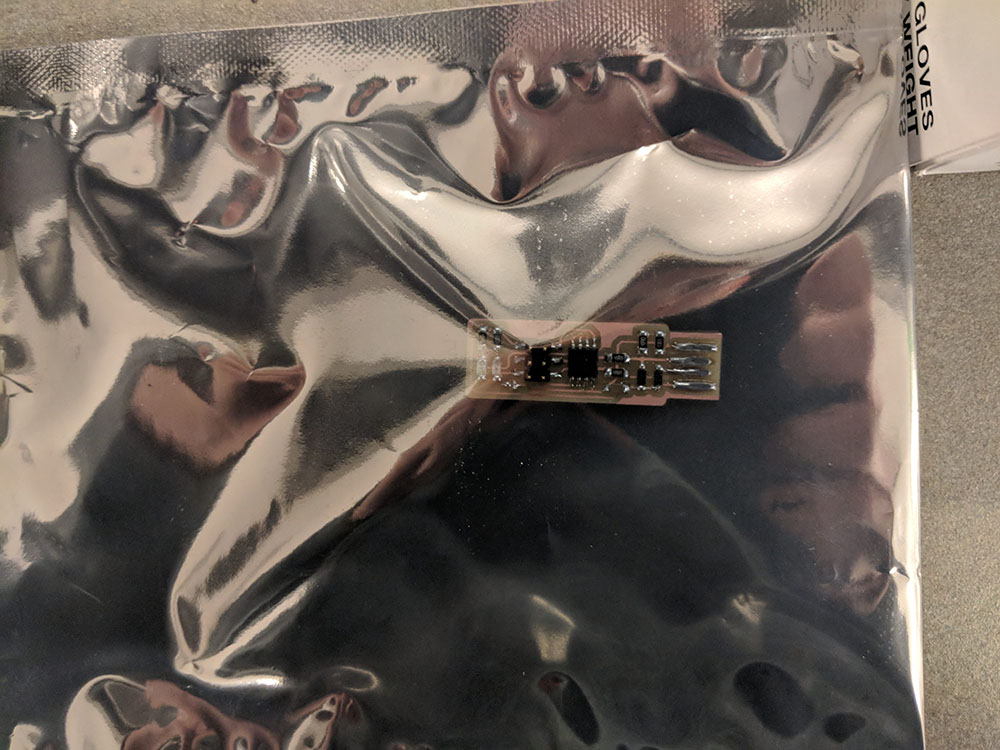
All nice and cozy in the anti-static bag!