Week 2 - Computer Controlled Cutting
Laser Cutting
This week’s assignment was to design and cut a press-fit construction kit. After searching through the archives for inspiration, I decided to make something like this:

But more versatile, so I could construct more than one thing.
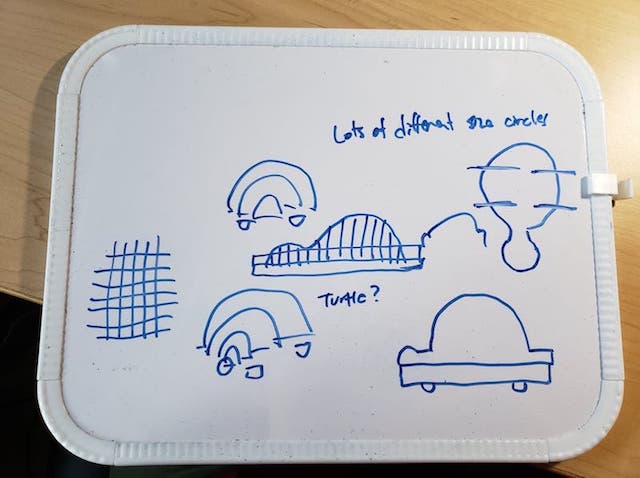
I would have two different types of pieces, a base piece – a rectangle with slots cut out along both the long edges – and circle pieces – semicircles of varying sizes with slots cut out along straight edge.
Having sketched out the idea, I then went about drawing it using Autodesk Fusion 360. I first made my slot, then using the retangular pattern and the mirror tools, copied the slot all over my base piece, so that changing the slot size on the first slot would change all the other slot sizes as well. Then,

The spinning circle of doom. I force quit out of Autodesk and load in my file again. I try to add a line and the same thing happens – Autodesk sputters to a halt.
Apparently, Autodesk just works really poorly with sketch patterns with lots of constraints. To get around this, I made a rectangular prism and cut the slots out of the 3D model using the same pattern tool. It works perfectly fine. Weird.
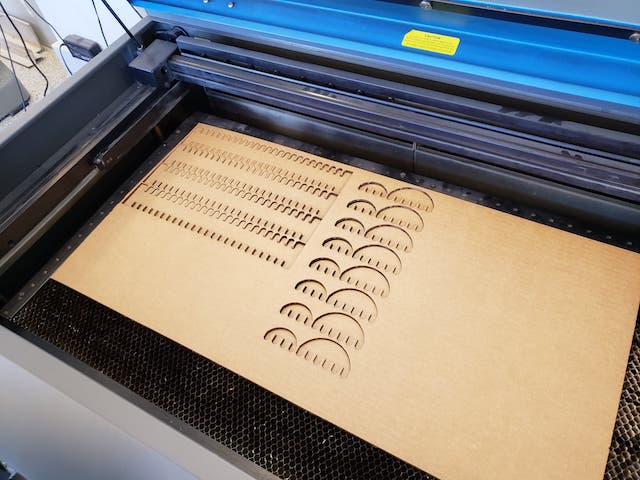
I made the base pieces contain 24 slots each, figuring I could just cut them if they were too long, and designed semicircles with radius 1 inch to 4 inch, incrementing by 0.25 inches.

But hey, if it works, it works. I had to project each shape onto a sketch, and export each sketch to a dxf.
Finally, it was time to laser cut. I made a couple test pieces to determine the best slot size. 0.155 in. was a good size: nice and sturdy but not impossible to take apart. I decided to space slots 0.5 inches away from each other.

Here’s the assembled product. It’s supposed to be a turtle.
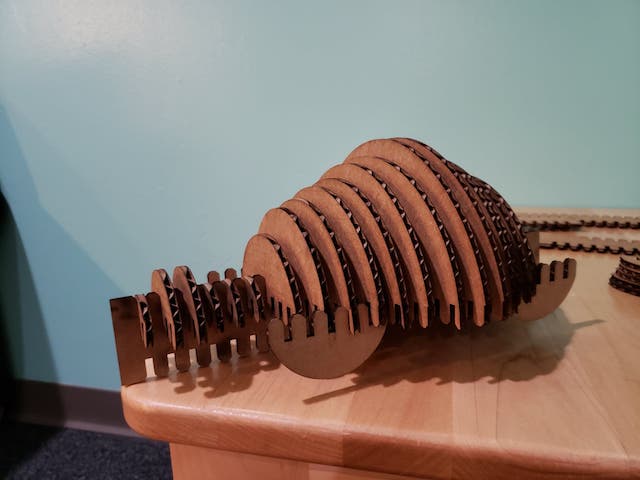
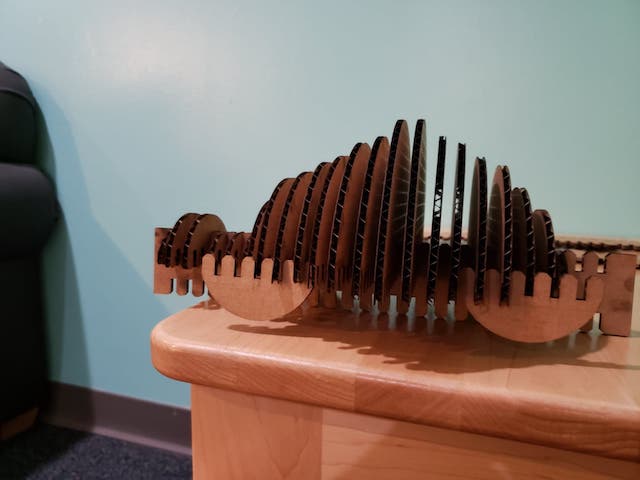
Not as nice as I had imagined, but I guess you can see it?
Bonus: Some pottery thing.

Vinyl Cutting
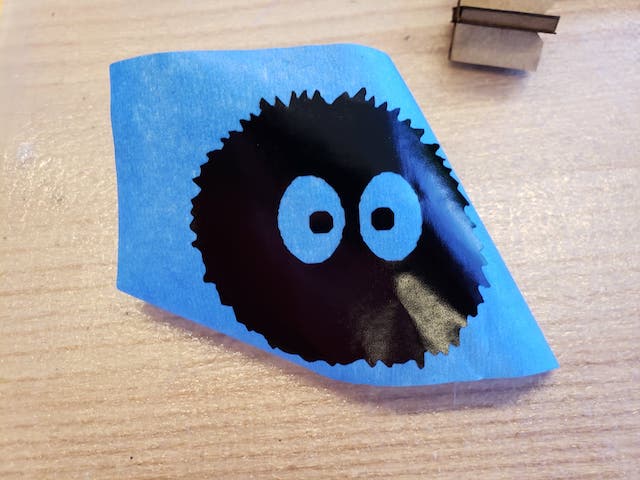
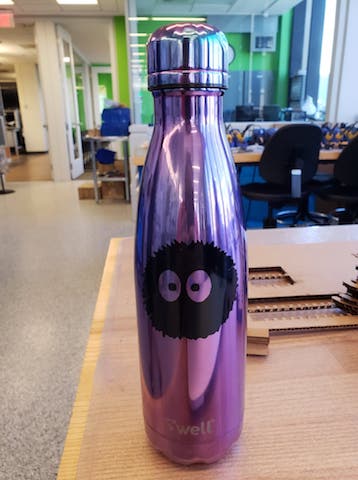
For the vinyl cutting part of the assigment, I cut myself a cute little soot sprite and a brand new laptop sticker.
