assignment
Changing gears from electronics, this week were were tasked with designing and producing a piece via molding and casting. We were to cut out of millable wax a piece off of which to make a silicon mold with Oomoo, a flexible silicon. This silicon mold would then be filled and casted with plaster, resulting in the final piece.
This week was the first where I really ran into troubles designing for the tooling. I learned a lot of valuable lessons about how to design for specific methods of fabrication.
the logo | |
|
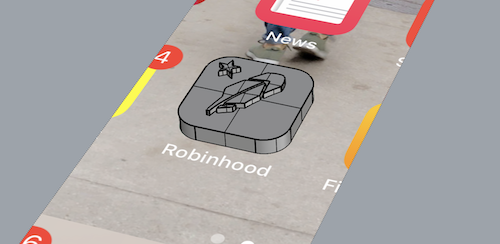
Since I'll be starting work at Robinhood after school, I figured it would be cool to make a little peice of desk art: the Robinhood logo! So I screenshotted the logo and began designing. The logo normally doesn't include the star; this is the logo of the beta app. |

|
|
The first step was to make a simple two-dimensional trace of the logo, which I did in Rhino after having quite a bit of practice in the Mac-native CAD software. Rhino's fillets even replicate the curvature-continuous corners of Apple's app icons, which made me very excited! |

|
|
I extruded this trace into 3 dimensions to look how I wanted to mold it. |
|
|
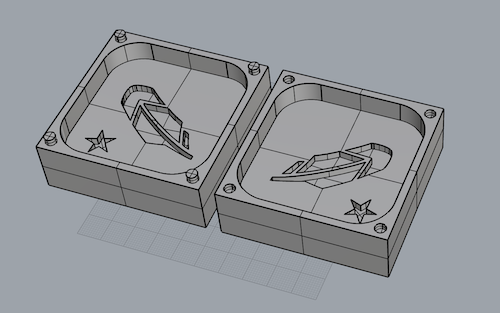
Then, I sliced this 3d body in half and created a mold of each half. This is what I was going to cast in silicon. The small nubs in each corner of the mold fit snugly into each other - this is to ensure that each half of the mold is aligned when I cast the plaster inside the silicon mold. This is a design feature unique to molding. |
|
|
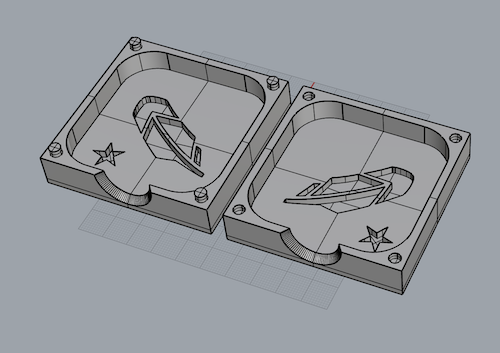
On top of the nubs, we also need a place to pour in the plaster - for this, I added a conical-ish gate. Now, the mold was done, so I simply had to take the negative of this to get the shape I will mill out in wax to act as the mold for the, uh, mold. |
|
|
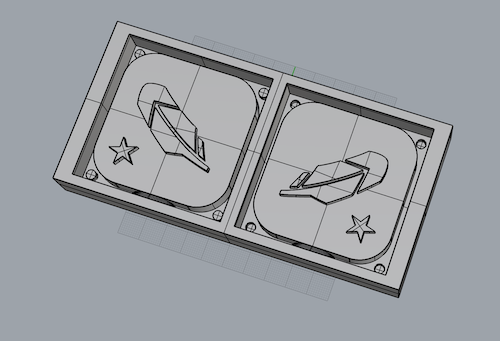
And now I had the mold of the mold! |
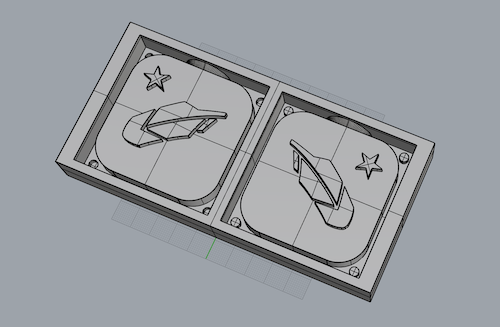
|
milling | |
|
I milled the wax on the SRM-20, a machine familiar to me. We used fabmodules, an analog to and I believe older version of mods. The first machining pass is done with a large bit and is very rough, simply to remove a lot of material. Afterwards, a finer pass smooths out surfaces, movinf in the Z direction simultaneously with X and Y. |
Fabmodules planning the toolpath. |
|
But, Robinhood's logo unfortunately has a handfull of really small lines to be cut, and the 1/8th inch bit doesn't fit inside. In fact, the 1/16th endmill doesn't even fit ito cut the lines. So, I decided to do four passes: one 1/8th inch rough pass, one 1/8th inch finishing pass, one 1/16th finishing pass, and one 1/32nd finishing pass. I potentially could have gone without either the 1/8th finishing pass or the 1/16th finishing pass, but did it as a precautionary effort to make sure the smaller bits didn't bite off more than they can chew. |
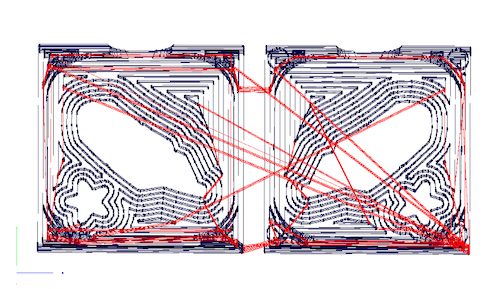
The 1/8th inch rough cut toolpath. 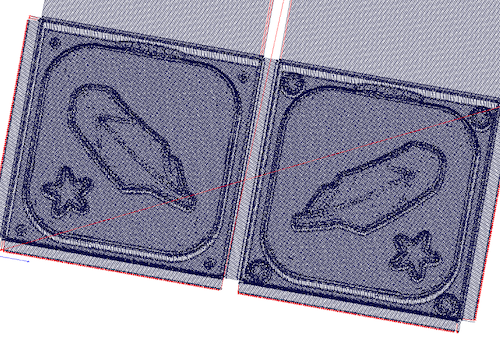
The 1/8th inch finishing cut toolpath. 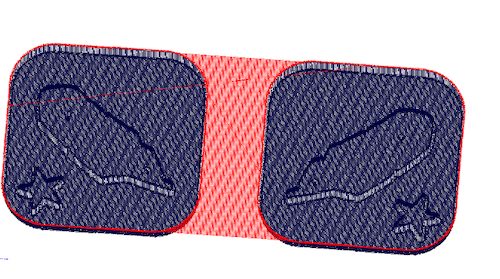
The 1/16th inch finishing cut toolpath. 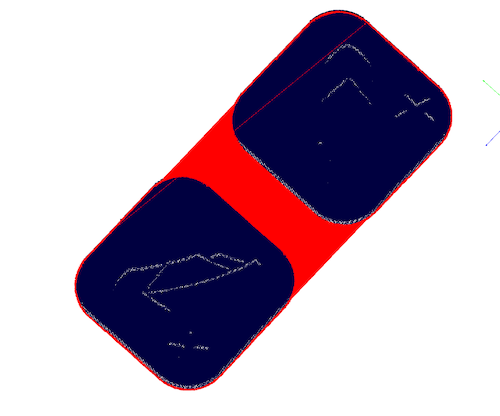
The 1/32th inch finishing cut toolpath. Here, we can finally start to see some fine features of the feather. |
|
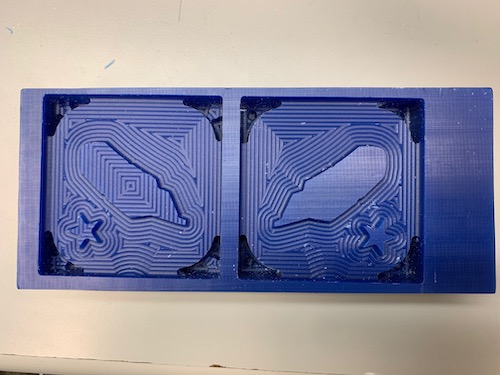
But, after milling the first 1/8th inch rough pass, I realized I had made a pretty huge design mistake: forgetting that the smaller bits weren't as long as the 1/8th inch bit, I had designed a gemeotry that couldn't be cut by the 1/8th bit or the smaller bits. The app icon's border was too close to the border of the mold and too deep for the smaller bits to reach. |
|
|
The solution: redesign and recut. I had to shrink the design slightly to fit in the small 3-inch size constraint. I had already shrank it significantly from my ideal size, so this was especially a bummer. |
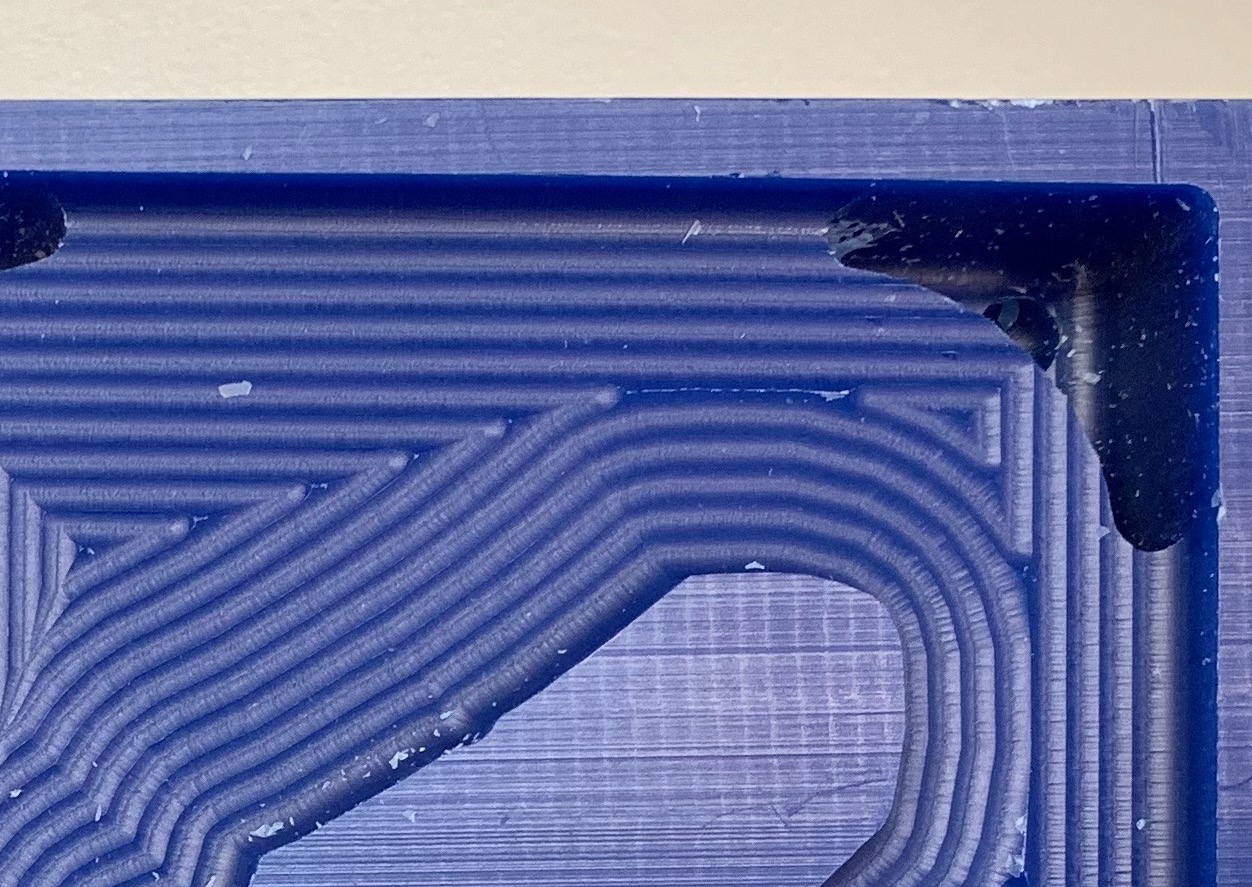
Here you can see where the 1/8th inch bit failed to cut perimeter of the app logo out. |
the redesign | |
|
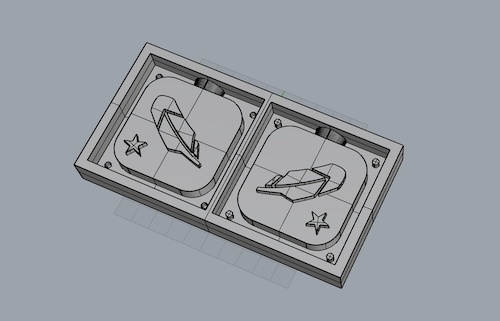
So, I recreated exactly what I had already done but with a bit more clearance on the sides. I realized I had also forgotten to give room for the 1/8th inch bit to cut out the nubs on the bottom, so I factored this into my new design. |
|
|
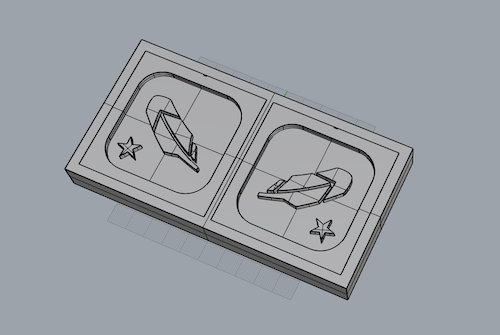
Now to prevent the smaller tools from plunging too deep into the geometry and having the collet collide with the walls of the wax, I created a second version of the wax cuts that only includes the face of the app logo. This was to be used with the 1/16th and 1/32nd endmills. |
|
milling (again) | |
|
And with that, I started cutting again. These passes kicked up tons of little wax pieces. | |
|
In total, the milling with its extra passes took about 3-4 hours, even after I took many steps to expedite the process. |
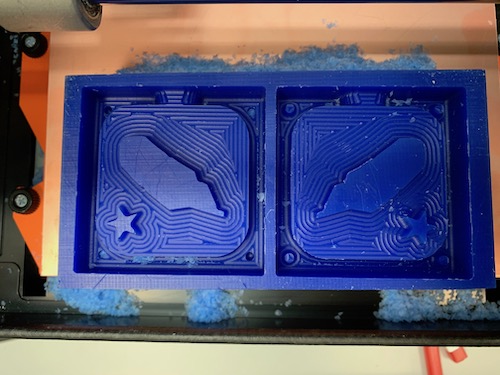
After the 1/8th inch rough cut. |
|
For each of the finishing cuts, fabmodules generates passes over the rows as well as over the columns, moving the bit in the Z direction to conform to the shape of the geometry as it passes over each row/column. The column passes seemed superfluous to me as I wasn't exactly sure what extra details they would get that the row details would miss, especially since I was doing two extra finishing passes with a flat end mill vs ball end mills. |
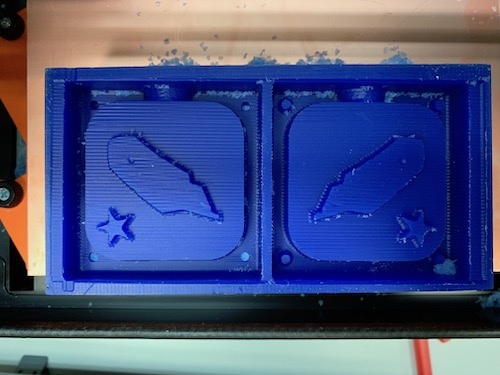
After the 1/8th inch finishing cut. |
|
In addition to skipping the column passes, I used an overlap of 80%, meaning the row cuts were 20% of the bit diameter apart. The default overlap was 90%, which is half as fast as 80% overlap. The 80% overlap was fine considering I was doing passes with smaller bits after. |
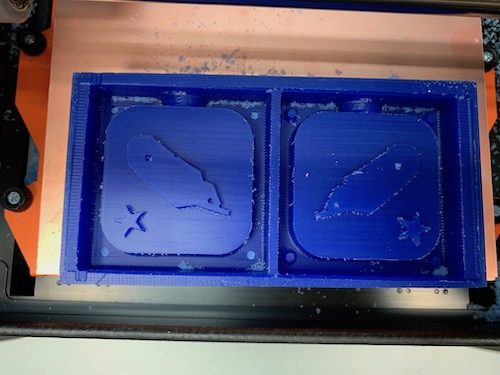
After the 1/16th inch finishing cut. |
|
Hours later, the mold was finally cut out! There was a ton of drilling debris stuck in the very fine edges of the feather. It took me twenty minutes to "weed" out the debris with tweezers, tape, and any tool that could fit in the crevice. |
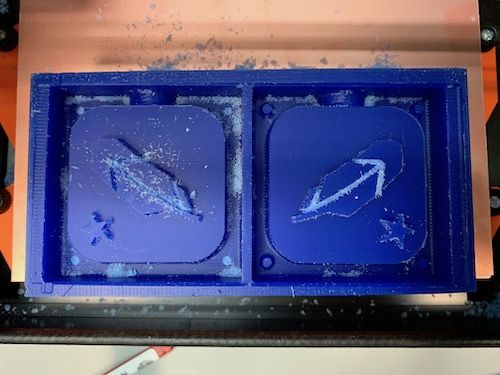
After the 1/32nd inch finishing cut. 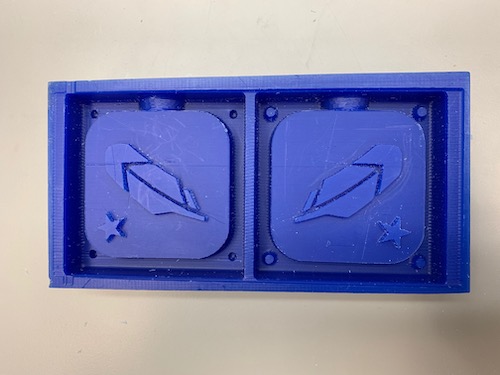
The final cleaned mold. |
casting oomoo | |
|
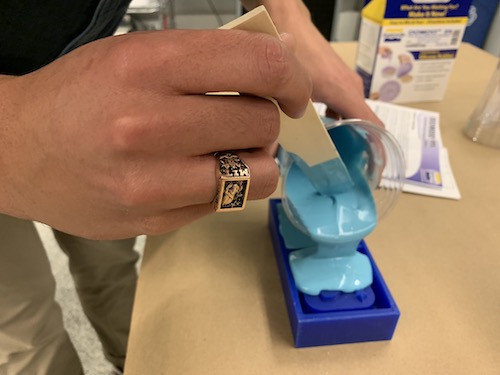
Now that I had a mold (of the mold), I could create the actual mold that will be used to cast the plaster. |
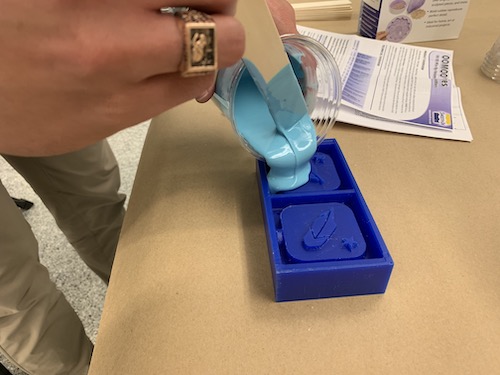
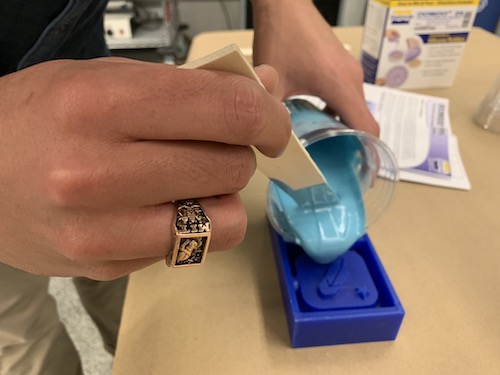
|
|
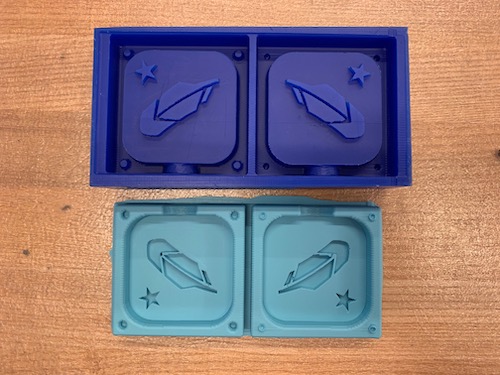
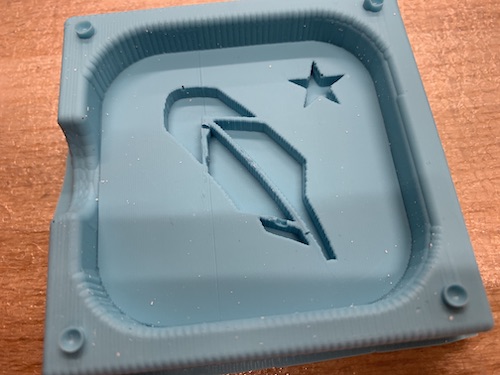
My first oomoo mold ended up with a few air bubbles, potentially a side effect of bad pouring and leftover debris from milling that I couldn't completely clean out. |
|
|
So I started casting another oomoo mold, and while I waited, casted plaster in the oomoo mold with air bubbles for practice. |
|
casting plaster | |
|
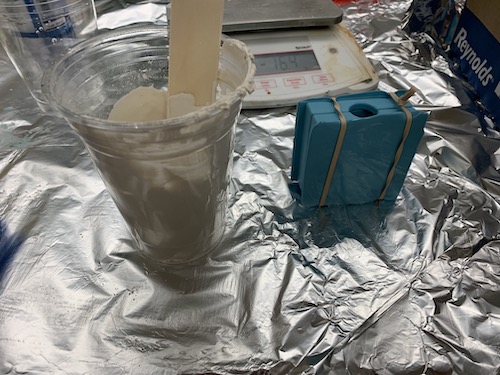
Plastering was very messy... The specified proportions of water/plaster to use made a very thick paste, which was very hard to pour. |
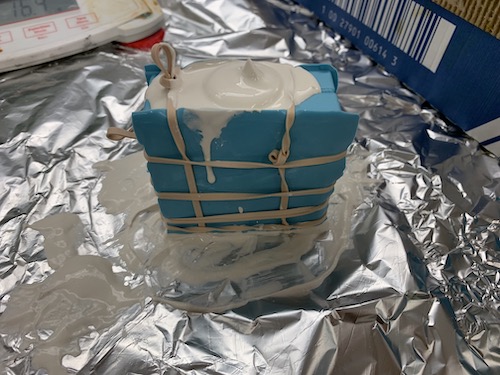
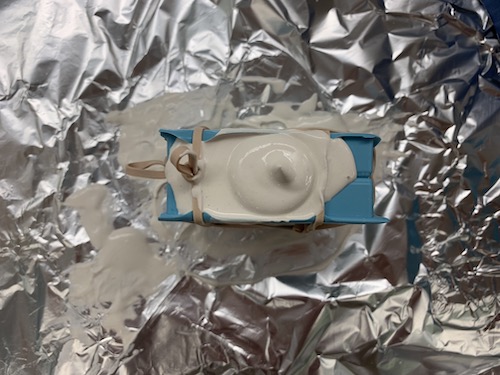
|
|
I think this also caused a ton of air bubbles as the plaster couldn't flow into all of the small corners of the design. |
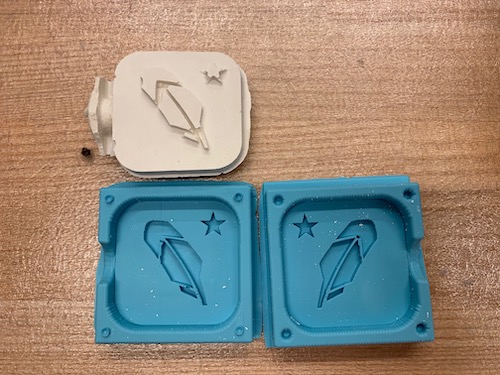
|
|
I then smoothed down the sides of the plaster... |
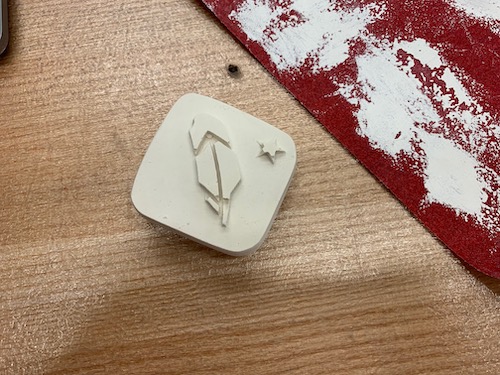
|
|
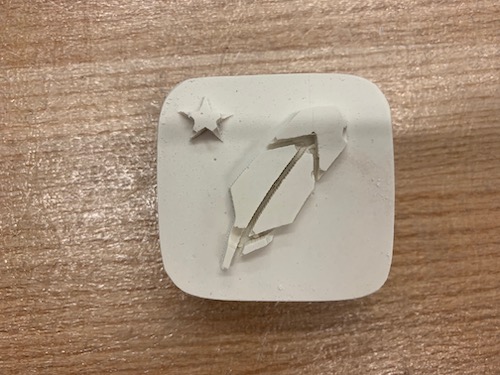
And ended up with this! Not too bad, but I'd like to make one with better features on the logo. |
|
casting hydrostone | |
|
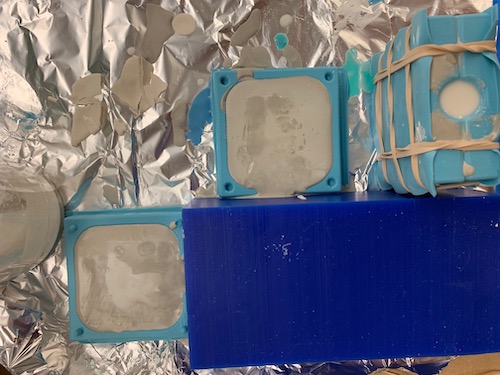
My second oomoo mold ended up having just as many bubbles as the first, but they were rarely visible on the final casted plaster. So now I just had the power to cast two pieces at a time! After hearing that hydrostone was a bit more sturdy than plaster, I decided to cast a few pieces out of it. |
|
|
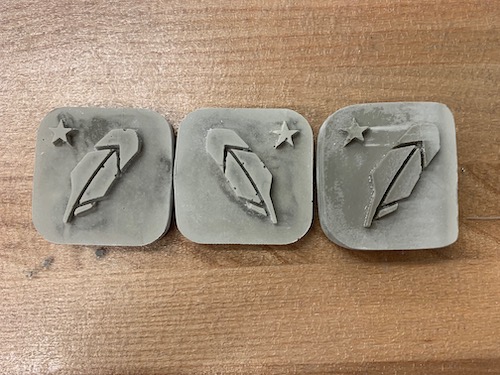
I made one of the mixtures super watery in hopes that it would help the hydrostone fill all of the fine details of my design. In reality, it ended up making the hydrostone mixture contract so it didn't even fill the whole mold... Even without the less viscous mix, it seemed the hydrostone was much better at filling the fine details, and after setting, it was much sturdier and less brittle than the plaster. |
|
|
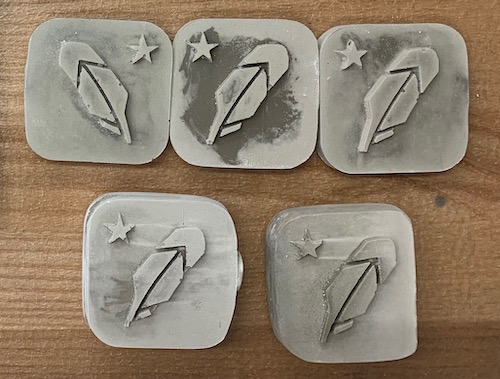
With my many molds, I casted a few more in hydrostone to see if I could get out all of the bubbles - still nope. |
|
casting metal | |
|
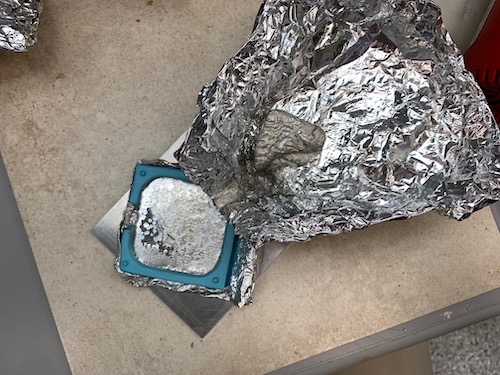
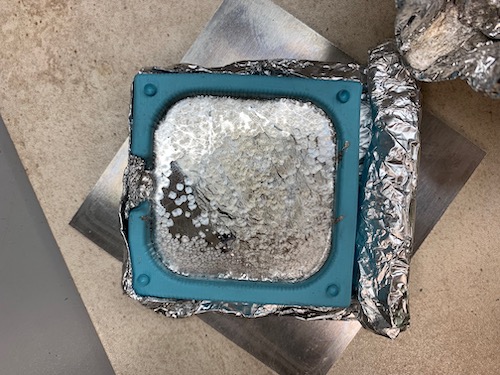
I bumped into other people casting with... metal! They were using a low melting point alloy. Supposedly, the Oomoo can withstand the temperature of molten metal... this alloy melts around 450 degrees F. So I gave it a go! We used a hot air gun to melt the block of alloy into an aluminum funnel, directing the molten metal into my mold. | |
|
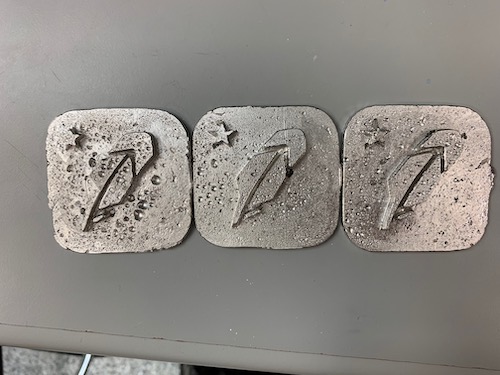
The molten metal has a huge surface tension and sticks to itself extremely easily. This made it really hard to fill in the fine details of my mold. |
|
|
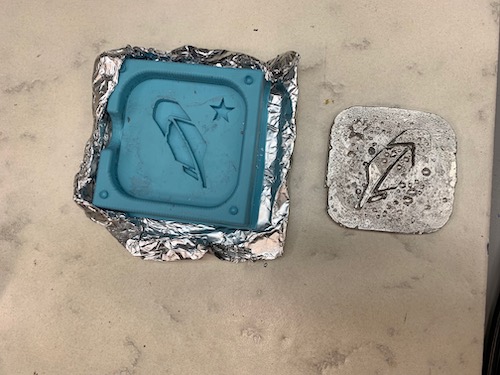
Even with the many air bubbles, the final product turned out pretty well with a lot of character. |
|
|
Conveniently, the metal set really quickly, so the process was really fast to iterate on. Once the metal was no longer liquid, we also ran it under water too cool it down faster. |
|
|
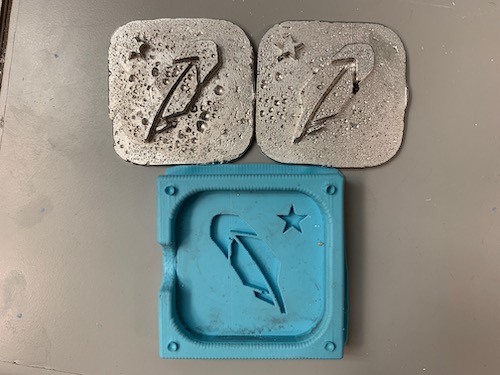
I made a few while I was at it. We tried a lot of techniques to get molten metal into small corners, like lining the corners with small chunks before flowing. Nothing other than a steady hand and speed of pour seemed to make a difference on the final product. |
|
|
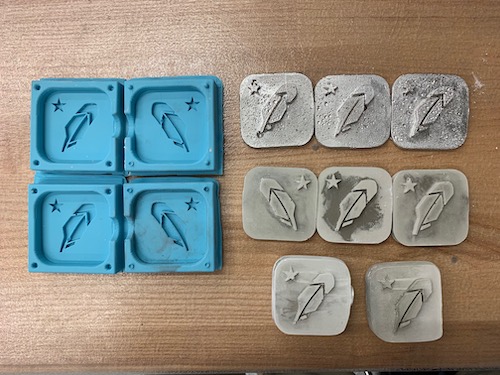
In the end, I came home with quite a few Robinhoods... |
|